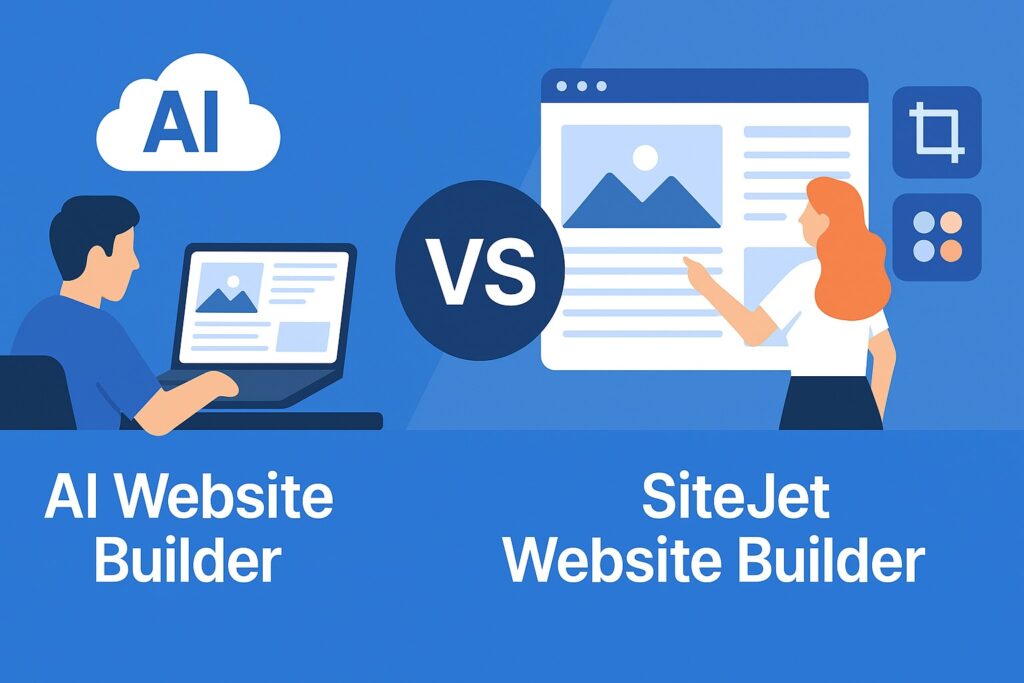
When it comes to building a website with UK Cheapest, you have two great options: the AI Website Builder and the Sitejet Website Builder. Each tool is designed for different needs and types of users. Here’s how they compare:
AI Website Builder: Fast, Effortless, and Automatic
The AI Website Builder is perfect for anyone who wants a website up and running in seconds, with no technical skills required.
- Instant Website Creation: Just describe your business, and our AI instantly generates a beautiful, mobile-ready, single-page website for you.
- No Coding or Design Needed: You don’t need to worry about templates, layouts, or dragging and dropping. The AI handles it all.
- Perfect for:
- Small businesses
- Side hustles
- Quick online presence
- Temporary pages
- Anyone who wants a live site right now
- What You Get:
- A fully responsive single-page website
- Instantly preview and edit your content
- Download, publish, or use the site for free with your domain registration
- Zero Learning Curve: Just fill in your details and let AI do the work!
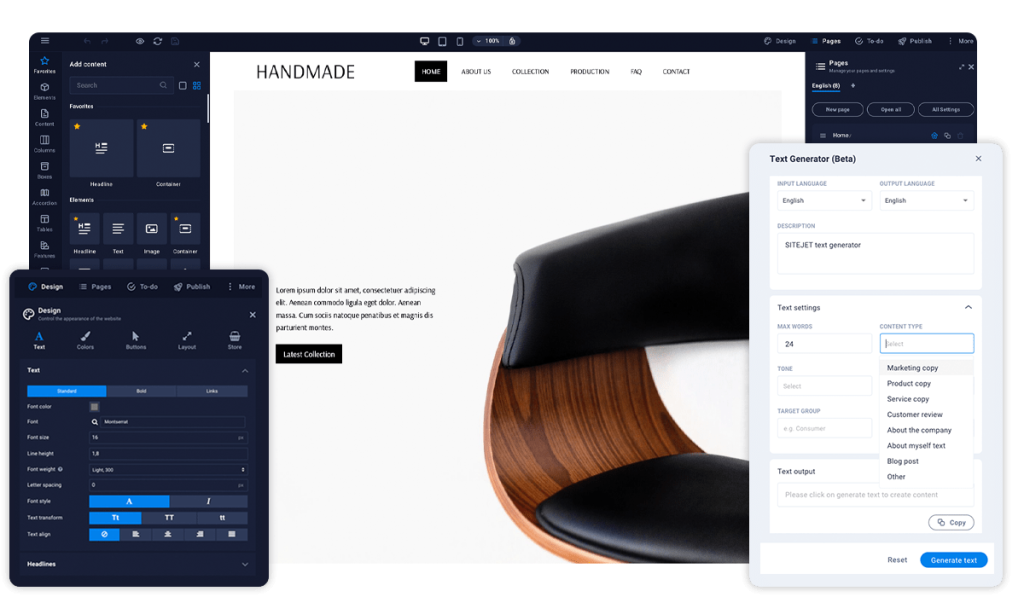
Sitejet Website Builder: More Power, More Control
The Sitejet Website Builder is a powerful, manual website builder for users who want full creative control over their site.
- Drag & Drop Editor: Design your site using a visual editor. Drag, drop, and customise elements however you want.
- Multi-Page Websites: Build and manage full websites with multiple pages and advanced navigation.
- Hundreds of Templates: Choose from a wide range of professional templates and tweak every detail.
- Advanced Features:
- Add blogs, galleries, forms, and more
- Edit SEO settings
- Integrate with tools and widgets
- Best for:
- Businesses who want a custom, feature-rich site
- Designers and agencies
- Users with experience or the desire to learn web design
- Total Control: You decide the look, feel, and structure of your entire website.
Which Should You Use?
- Use the AI Website Builder if:You want a fast, hands-off, single-page website without the need to design, code, or manage a complex editor.
- Use the Sitejet Website Builder if:You want to design a custom website, need multiple pages, or want to control every aspect of your site’s design and features.
In summary:
- AI Website Builder: Fast, automatic, single-page sites. No effort, live in seconds.
- Sitejet Website Builder: Advanced manual editor. Full control, multi-page sites, more features.
Both builders are included with UK Cheapest hosting plans, so you can choose the tool that’s right for you – no matter your experience level.