For many small businesses and individuals, getting online is a crucial step. However, web hosting costs can be daunting, especially for those on a tight budget.
Fortunately, affordable solutions exist without sacrificing reliability or security. If you’re looking for the cheapest web hosting services that offer great value, UK Cheapest is a trusted provider that has been helping people build websites for over 22 years.
In this article, we will answer common questions about cheap web hosting, so you can make an informed decision.
1. What is Cheap Web Hosting?
Cheap web hosting refers to affordable hosting plans designed to provide essential website services—such as storage, bandwidth, and security—at low prices. While the term “cheap” may imply low quality, many providers, like UK Cheapest, deliver reliable hosting with essential features without breaking the bank.
At UK Cheapest, you can find plans starting as low as £1, making it a top choice for individuals and businesses looking for inexpensive solutions without compromising performance.
2. What Should I Look for in Cheap Hosting?
When searching for the cheapest web hosting, it’s important to check for key features to ensure your website runs smoothly. Here are some essentials:
• Reliability: Look for at least 99.9% uptime to ensure your website is always accessible.
• Customer Support: Ensure the hosting provider offers 24/7 customer support, especially for beginners.
• Free SSL: Security is critical, so choose a provider that includes a free SSL certificate.
• Storage and Bandwidth: Even with a cheap plan, you need enough space and bandwidth to handle your site’s traffic.
UK Cheapest ticks all these boxes, offering affordable hosting plans with free SSL, 24/7 support, and reliable uptime.
3. Can Cheap Web Hosting Be Reliable?
Absolutely! Cheap web hosting doesn’t have to mean unreliable. Many providers like UK Cheapest have built a reputation for delivering high-quality services at affordable rates. When you choose a budget-friendly host, make sure they have good customer reviews, strong uptime, and responsive support teams.
At UK Cheapest, we’re proud of our positive reviews, which highlight our excellent customer service and dependable hosting performance. We provide hosting packages that ensure your site stays up and running smoothly, without any hidden fees.
4. What are the Benefits of UK Cheapest’s Hosting Plans?
UK Cheapest offers a range of hosting plans designed for different needs, all at competitive prices. Here’s what you get with our affordable hosting options:
• Free SSL Certificate: Ensure your website is secure and trustworthy.
• Fast Setup: Get your website online in minutes, even if you’re a beginner.
• 24/7 Customer Support: Our friendly and knowledgeable team is always here to help.
• Plesk Control Panel: Manage your website with ease using the popular Plesk interface.
• Free Migration: We offer a hassle-free migration service if you’re moving from another provider.
With prices starting at just £1 per month, UK Cheapest’s hosting plans are ideal for anyone looking to launch a website affordably.
5. How Do I Get Started with UK Cheapest Hosting?
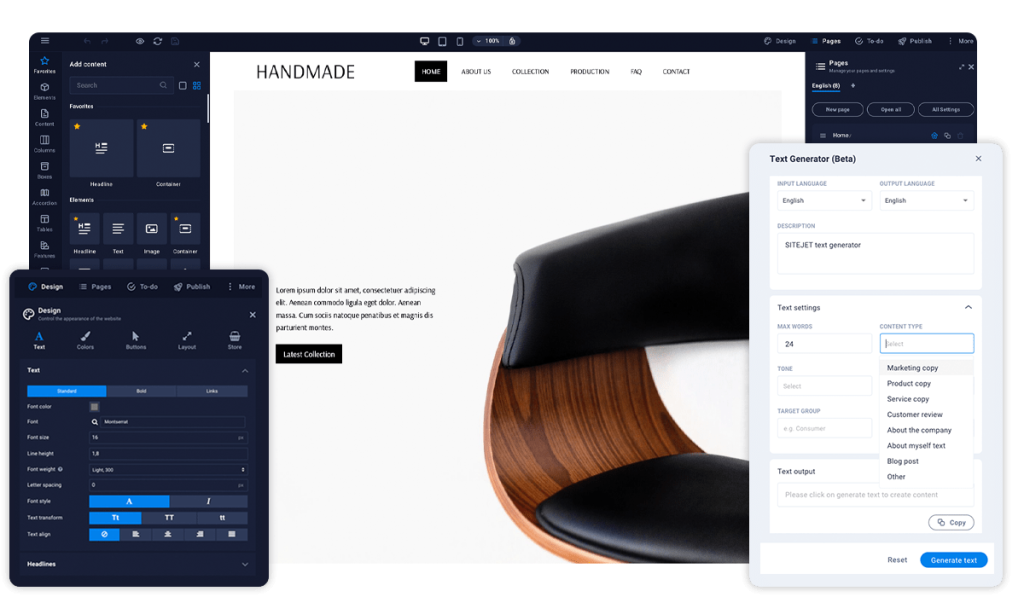
Getting started with UK Cheapest is simple. You can register your first domain for just £1, and if you choose one of our hosting plans, you can get a free domain registration for the first year. Whether you’re launching a personal blog or a business website, we offer easy-to-use tools like the Homepage Builder and a free DNS Manager to simplify the process.
To take advantage of our cheap hosting offers, head to our website and choose the hosting plan that suits your needs. If you need help, our support team is always available to assist you with setup or migration.
No Compromise
Choosing the cheapest web hosting doesn’t mean compromising on quality or features.
With UK Cheapest, you get affordable hosting solutions that come with essential tools and support to ensure your website thrives. From free SSL certificates to 24/7 customer service, our hosting plans are designed to offer great value without the high cost. Get started today and enjoy the benefits of cheap and reliable web hosting with UK Cheapest!
Launch your Website Today!