MICROLITE13.COM – Upgrades
As part of our service to you, we strive to provide you with the very latest services, performance and security for your web sites. Our new upgrade schedule will completely replace your hardware and software to the very best available.
“During the period 14th thru 20th May the server hardware and plesk panel will be completely upgraded to the very latest specifications available.”
HARDWARE: The new hardware will improve the performance and reliability of the server. Response times and security will be greatly increased. The server will also be migrated to our new UK datacenter. The old IP address was 151.236.42.18. The new IP address will be announced shortly.
SOFTWARE: The core OS of the new server will be of the latest stable version. PHP, MySQL and all other features will be of the latest production versions.
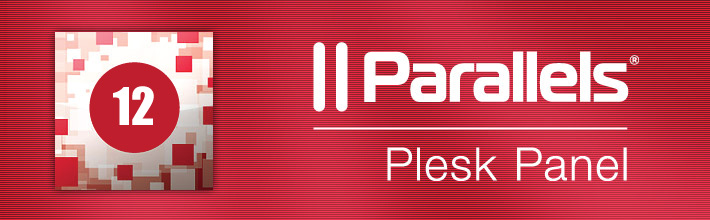
PANEL: The Plesk Panel will be upgrade to Plesk 12, the current latest version of Plesk. This will provide the very latest features, functionality and security for your accounts.
ENHANCED SECURITY: The new Security Core combines ModSecurity, CSF, Malware Detect and Fail2Ban with Outbound Antispam and ServerShield™ tools and many features that protect against malicious attacks and site vulnerabilities.
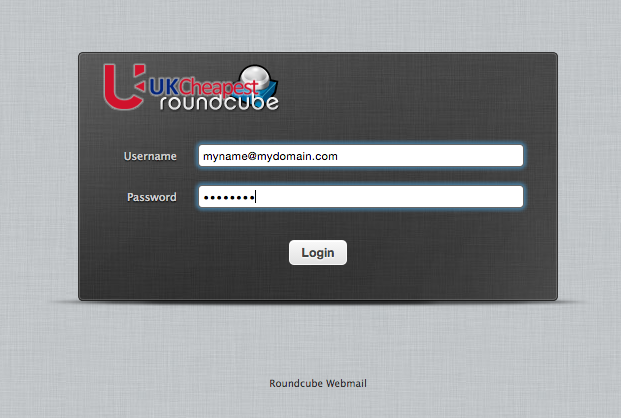
WEBMAIL: AtMail is now replaced with the awesome RoundCube. Your username is in the format name@yourdomain.co.uk. Your passwords are unchanged. If you do have a problem with your mail password simply change it or request support to change it for you.
COST: These are no-cost upgrades, there will be no additional charges to your account.
Notice: Please refrain from making significant changes to your web site during this period. The migration of the data will take many hours. We request that you put off any changes until the upgrade is complete to avoid an inconsistent transfer of your site data.