DKIM Support Now Available in the Client Area DNS Manager

We’re pleased to announce that you can now add DKIM (DomainKeys Identified Mail) records directly through the Client Area DNS Manager for all parked domains.

What is DKIM?

DKIM is an industry-standard email authentication system that helps protect your domain name from being used for spam or phishing. It works by digitally signing outgoing messages so that receiving mail servers can verify they were genuinely sent from your authorised mail source.

When DKIM is active:

  • Your emails are less likely to be marked as spam
  • Recipients can trust that messages really came from you
  • Your domain reputation and deliverability improve

How it Works

Every DKIM setup uses two keys:

  • private key, stored safely on the mail server that sends your messages
  • public key, published in your domain’s DNS as a TXT record

When an email is sent, your mail server signs it with the private key. The receiving system checks that signature using the public key in your DNS.

Adding DKIM in the Client Area

If your mail service (for example Google Workspace, Microsoft 365, or your own server) provides you with a DKIM record, you can now publish it in just a few clicks.

  1. Log in to your Client Area at https://www.uk-cheapest.co.uk
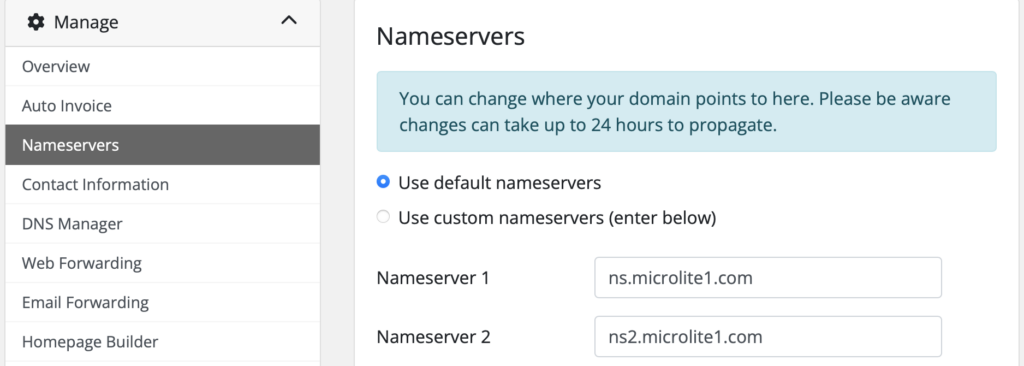
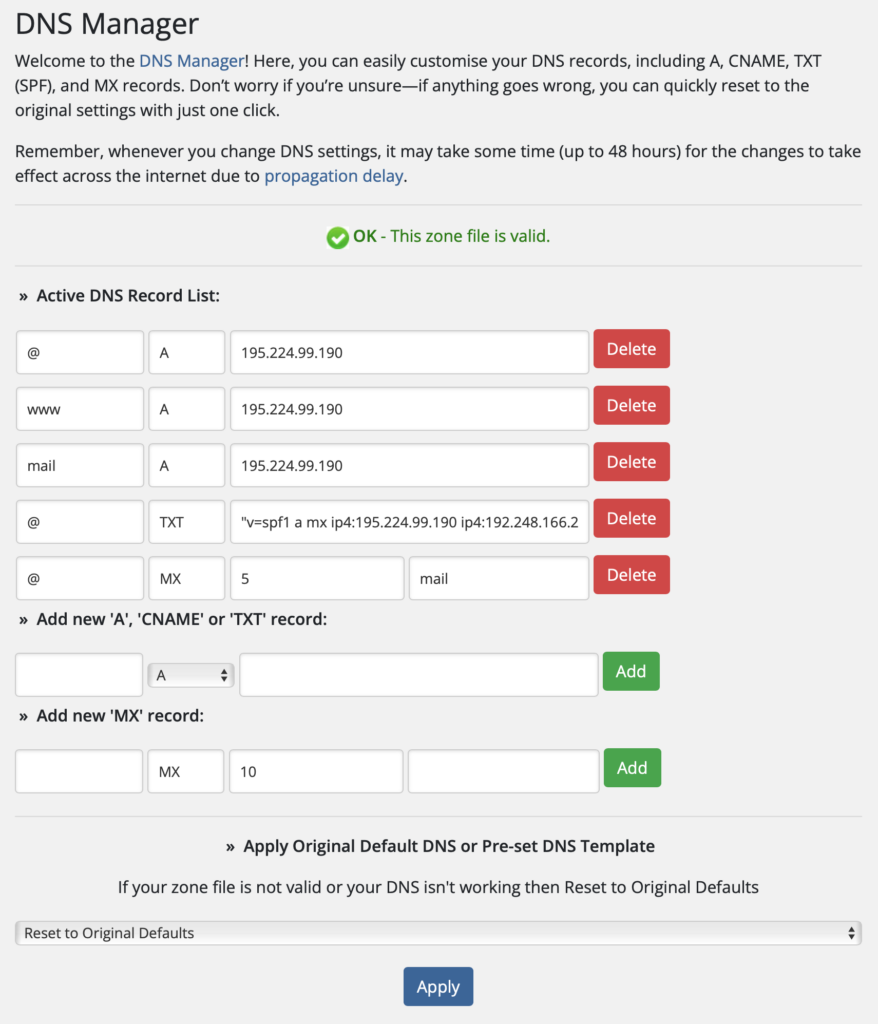
  2. Go to Domains → Manage Domain → DNS Manager
  3. Add a new TXT record
    • Host/Name: the DKIM selector (for example, default._domainkey)
    • Value: the full DKIM record starting with v=DKIM1; k=rsa; p=…
  4. Save changes and allow a few minutes for DNS to update

Once published, your mail provider’s DKIM checks should confirm that your domain is correctly authenticated.

Frequently Asked Questions

1. Do I need to set up DKIM for my domain?

If you send email using your domain name, yes – DKIM is strongly recommended. It helps protect your domain’s reputation and improves email delivery by verifying that messages weren’t altered in transit.


2. Where do I get my DKIM record?

Your DKIM record is generated by your email provider or mail server. For example, Google Workspace, Microsoft 365, or your web hosting control panel will each provide a v=DKIM1; p= record that you can copy and paste into your DNS Manager.


3. How long does it take for DKIM to start working?

Once you add your DKIM record, it can take anywhere from a few minutes to a few hours for DNS propagation. After that, emails sent from your domain should show as “signed” when checked by online DKIM testers.


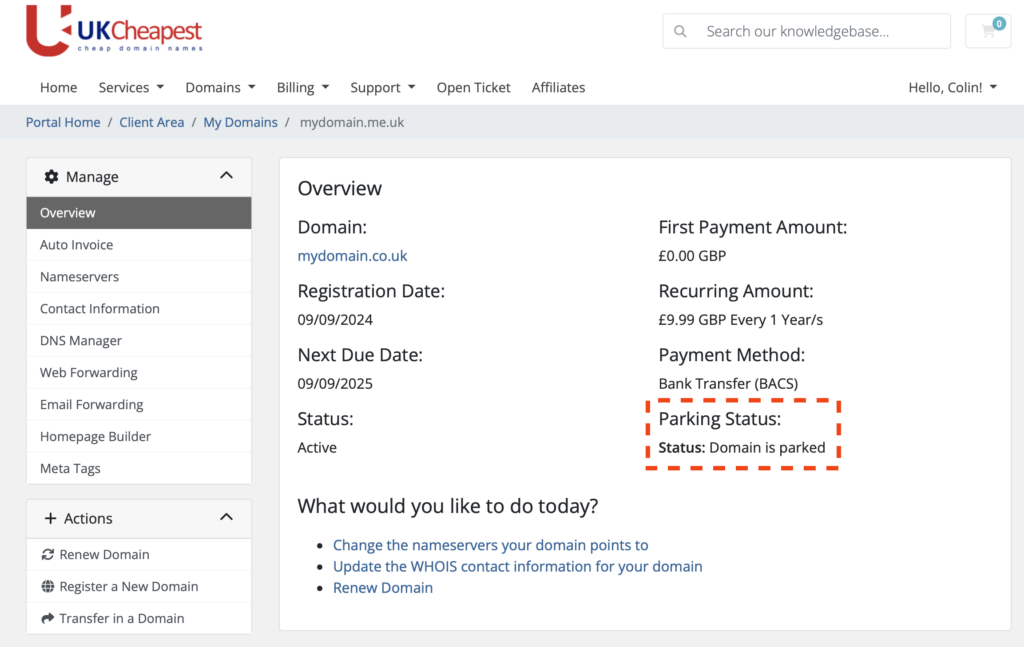
4. Can I use DKIM on a parked domain?

Yes. Even if your domain is parked, you can add DKIM records in advance or if you’re routing mail through another system. This is especially useful for protecting your brand from spoofed messages.


5. What if my DKIM record doesn’t validate?

Check that your record is added as a single TXT entry, with no extra spaces, quotes, or missing characters. If you’re unsure, open a support ticket – our team will review your DNS record and help you get it verified.

Need Help?

If you’re unsure which DKIM record to use or your provider’s verification fails, open a support ticket and our team will review your DNS settings for you.


Tip: It’s normal to paste a DKIM record generated on another mail system into your DNS – just make sure it’s copied exactly as provided.

For further guidance, visit your email provider’s DKIM documentation or contact us anytime through the Client Area Support Centre.

Managing Your Domain: What Does “Parking Status” Mean?

Parking Status

When you manage your domains, you may see a Parking Status displayed, such as:

  • Status: Domain is parked
  • Status: Domain is not parked

What Does “Domain is Parked” Mean?

A parked domain means your domain name is using our default nameservers (ns.microlite1.com and ns2.microlite1.com). While parked, you can use our free parking tools such as:

What If My Domain Is Not Parked?

If you see “Domain is not parked“, your domain is pointing to external nameservers. This means our local parking tools, including email and web forwarding, will not be available for your domain until you switch back to our parking servers.

How to Check Your Domain’s Parking Status

  1. Login to your Client Area.
  2. Go to Domains > My Domains.
  3. Select the domain name you wish to check.
  4. View the Parking Status on the domain overview page.

How to Park or Unpark Your Domain

To park your domain and enable our free tools, select Use default nameservers then hit Change Nameservers button. This updates your domain’s nameservers to:

  • ns.microlite1.com
  • ns2.microlite1.com

To unpark, simply point your domain to any external nameservers of your choice. Note that parking features will then be disabled.

If you need help changing your domain’s nameservers or have questions about parking, please contact our support team.

DNS Manager: Take Control of Your Domain’s Destiny


Easily Manage Your Domain DNS – No Tech Skills Needed

Your domain’s DNS controls where your website, email, and every online service is pointed. With our DNS Manager, you get full control in a user-friendly dashboard—free with every domain. Whether you need to connect to a website builder, update email servers, or verify your site with Google, it’s all a few clicks away.

  • Update All DNS Records: Manage A, CNAME, TXT, SPF, and MX records for full flexibility.
  • Easy-to-Use Interface: Add, edit, or remove records instantly—no complicated menus.
  • Instant Propagation: Most updates take effect in minutes, with a clear “zone valid” indicator.
  • Free With Every Domain: No hidden fees or upcharges for DNS control.
  • Connect Anywhere: Use your domain with Google, Wix, Shopify, Squarespace, Microsoft 365, and more.
  • Reset in One Click: If you ever get stuck, restore default settings in seconds.

How It Works

  1. Log in to your UKC account and select your domain.
  2. Open DNS Manager from your control panel.
  3. View and Edit Records:
    • A Record: Points your domain to a website (IP address)
    • CNAME: For subdomains (like www) pointing elsewhere
    • MX Records: Route email to your mail provider
    • TXT/SPF: Used for verification, security, or third-party services
  4. Make Changes Instantly:Add new records or update existing ones. Changes are saved with the blue “Apply” button.
  5. See Status At A Glance:If your DNS is set up correctly, you’ll see a green “This zone file is valid” message.
  6. Easy Recovery:If something goes wrong, use “Reset to Original Defaults” to restore standard settings.


Interface Preview

Our DNS Manager puts you in control: add, edit, or remove DNS records in seconds. Everything is labelled clearly, with instant feedback on your changes.

Frequently Asked Questions

How long do DNS changes take to go live?

Most DNS changes are instant, but some may take up to 48 hours to propagate globally.

Can I break my website by changing DNS?

Only if you point your domain to the wrong place. If unsure, you can always reset to default settings.

Is the DNS Manager really free?

Yes! Full DNS control is included with every domain registration at UK Cheapest.

Can I use my domain with third-party services?

Absolutely! Our DNS Manager is compatible with all major website builders, email hosts, and verification services.


Get Started Today

Ready to take control of your domain?

Log in to your UKC account and try out our DNS Manager now. Need help? Contact our UK-based support team – we’re here 24/7.

Tip:

If you’re moving to Google, Wix, Squarespace, Microsoft 365, or any service, check their help page for DNS records—they’ll give you the exact details to enter here!


Still have questions?

Reach out to us – our friendly support team is always happy to help you get your domain working perfectly.

How to Connect Your UK Cheapest Domain Name with Squarespace

If you’ve registered a cheap domain name with UK Cheapest, you’re not limited to using it only with UKC hosting services. One of the great benefits of registering with us is that your domain can be easily connected to third-party platforms including popular website builders like Squarespace.

Why Use a UKC Domain with Squarespace?

Many UK-based individuals and small businesses choose UK Cheapest for domain registration because we offer:

  • Low-cost domain names – register a .UK domain for just £1
  • Free extras – DNS Manager, Web Forwarding, Email Forwarding, Privacy Protection, and Homepage Builder
  • Full control – connect your domain to any third-party platform like Squarespace, Wix, or WordPress.com

Step-by-Step: Connecting Your UKC Domain to Squarespace

1. Log in to your Squarespace account

Visit Squarespace.com and sign in. From the Home menu, go to Settings > Domains. Click Use a domain I own.

2. Enter your UK Cheapest domain name

Type your domain (e.g., yourdomain.co.uk) and click Continue. When asked who your domain provider is, select Other. Then choose Connect domain (not transfer).

3. Get your Squarespace DNS settings

Squarespace will show a list of DNS records—usually including a CNAME for “www” and several A records. Leave this page open, as you’ll need to copy the values into your UKC account.

4. Log in to your UK Cheapest account

  1. Go to uk-cheapest.co.uk and log in to your Client Area.
  2. Click on Domain Names > My Domains and select the domain to connect.
  3. Click Manage Domain and go to DNS Management or Free DNS Manager.

5. Update your DNS records

Remove any existing A or CNAME records, then add the DNS records provided by Squarespace.

Example:

  • A Record: @198.185.159.144
  • CNAME: wwwext-cust.squarespace.com

Be sure to enter each records exactly as shown in Squarespace.

6. Save your changes and wait

Once saved, DNS updates can take several hours (up to 24) to propagate. During this time, your domain will start pointing to your Squarespace site.

Need Help?

If you’d like help updating your domain settings, our UK-based support team is here to assist. We can walk you through the process or make the updates for you.

Final Thoughts

Registering a domain with UK Cheapest gives you flexibility, affordability, and complete control. Your domain can be used with Squarespace and many other website builders—quickly and easily.

Ready to start? Register your domain and build your online presence today.


How to: Create DNS SRV Records

sshCreating SRV Records

Some services, such as Microsoft 365, will require SRV records to be created.

SRV records are constructed as follows:

_service._protocolName IN SRV priority weight portNO subdns.domain.com

The following parameters are needed to fully construct SRV records:

  • Service
  • Protocol
  • Port
  • Weight
  • Priority
  • Name
  • Target
  • TTL

A sample SRV record could look like this:

_https._tcp IN SRV 10 10 443 mail.domainname.com.

Microsoft 365 SRV records can look like this:

_sip._tls IN SRV 100 1 443 sipdir.online.lync.com.
_sipfederationtis._tcp IN SRV 100 1 5061 sipfed.online.lync.com.

Query SRC record with DIG with as such:

# dig srv _https._tcp.mail.domainname.com

;; ANSWER SECTION:

_https._tcp.domainname.com. 38400 IN SRV 10 10 443 mail.domainname.com

Setting up SRV records can be complicated. Simply contact the Helpdesk with the parameter list and our support staff will construct the SRV record on your behalf.

Categories DNS